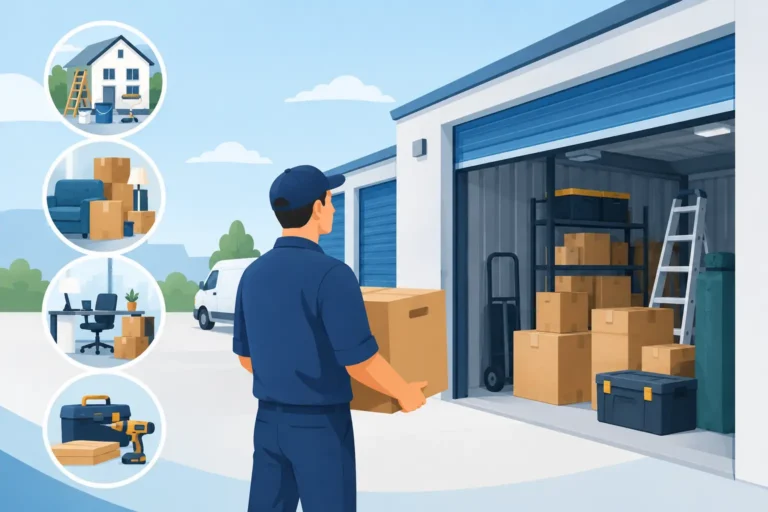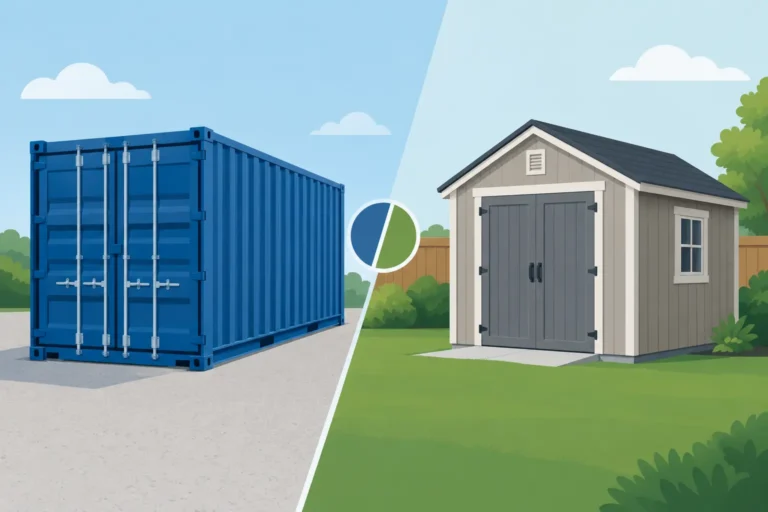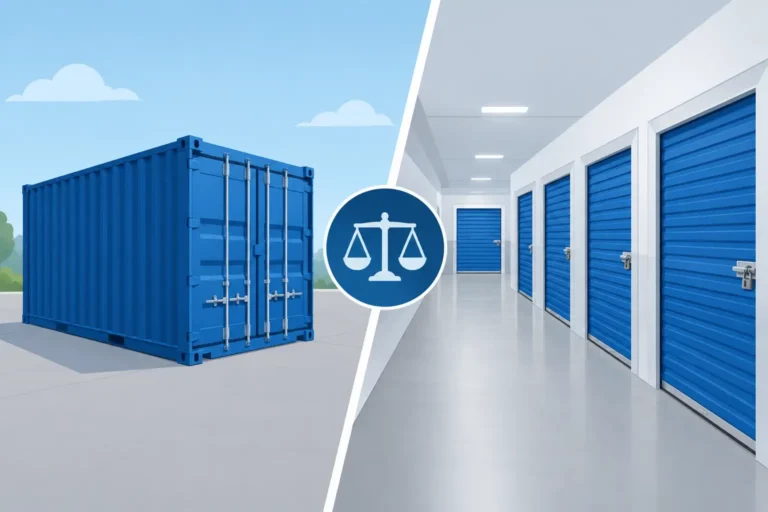
A disorganized jobsite costs more than a few minutes spent looking for a tool. It can create trip hazards, expose valuable materials to weather, delay the next task, and leave crews working around clutter instead of through a clear plan. Knowing how to organize jobsite storage gives your team a safer, more reliable place to work from day to day.
The best setup is not necessarily the one with the most shelves or the largest container. It is the one that matches the work underway, keeps frequently used items close at hand, and makes it obvious where every item belongs when the day is done.
How to Organize Jobsite Storage Before Delivery
Start by assessing the site before equipment, materials, and supplies begin arriving. Walk the area with the project lead and identify where crews will enter, where deliveries can safely stop, where waste will be collected, and where work vehicles need room to operate. Storage should support these routes, not narrow them.
Choose a level, accessible location for your storage unit. The doors need enough clearance to open fully, and the area in front of them should remain open for loading and unloading. Avoid placing the unit where it blocks visibility at an entrance, interferes with emergency access, or forces workers to carry heavy materials across active work areas.
A portable storage container works especially well when the site needs secure storage close to the work. For contractors in Kingston and across Eastern Ontario, having the unit delivered to the location can reduce unnecessary handling and keep essential supplies available without relying on off-site space.
Before filling the unit, decide what it is meant to store. A container used for power tools, consumables, finish materials, and paperwork needs a different layout from one holding bulk lumber, fixtures, or seasonal equipment. Trying to store everything without a defined purpose usually leads to a crowded unit that nobody can use efficiently.
Build Storage Zones Around How Crews Work
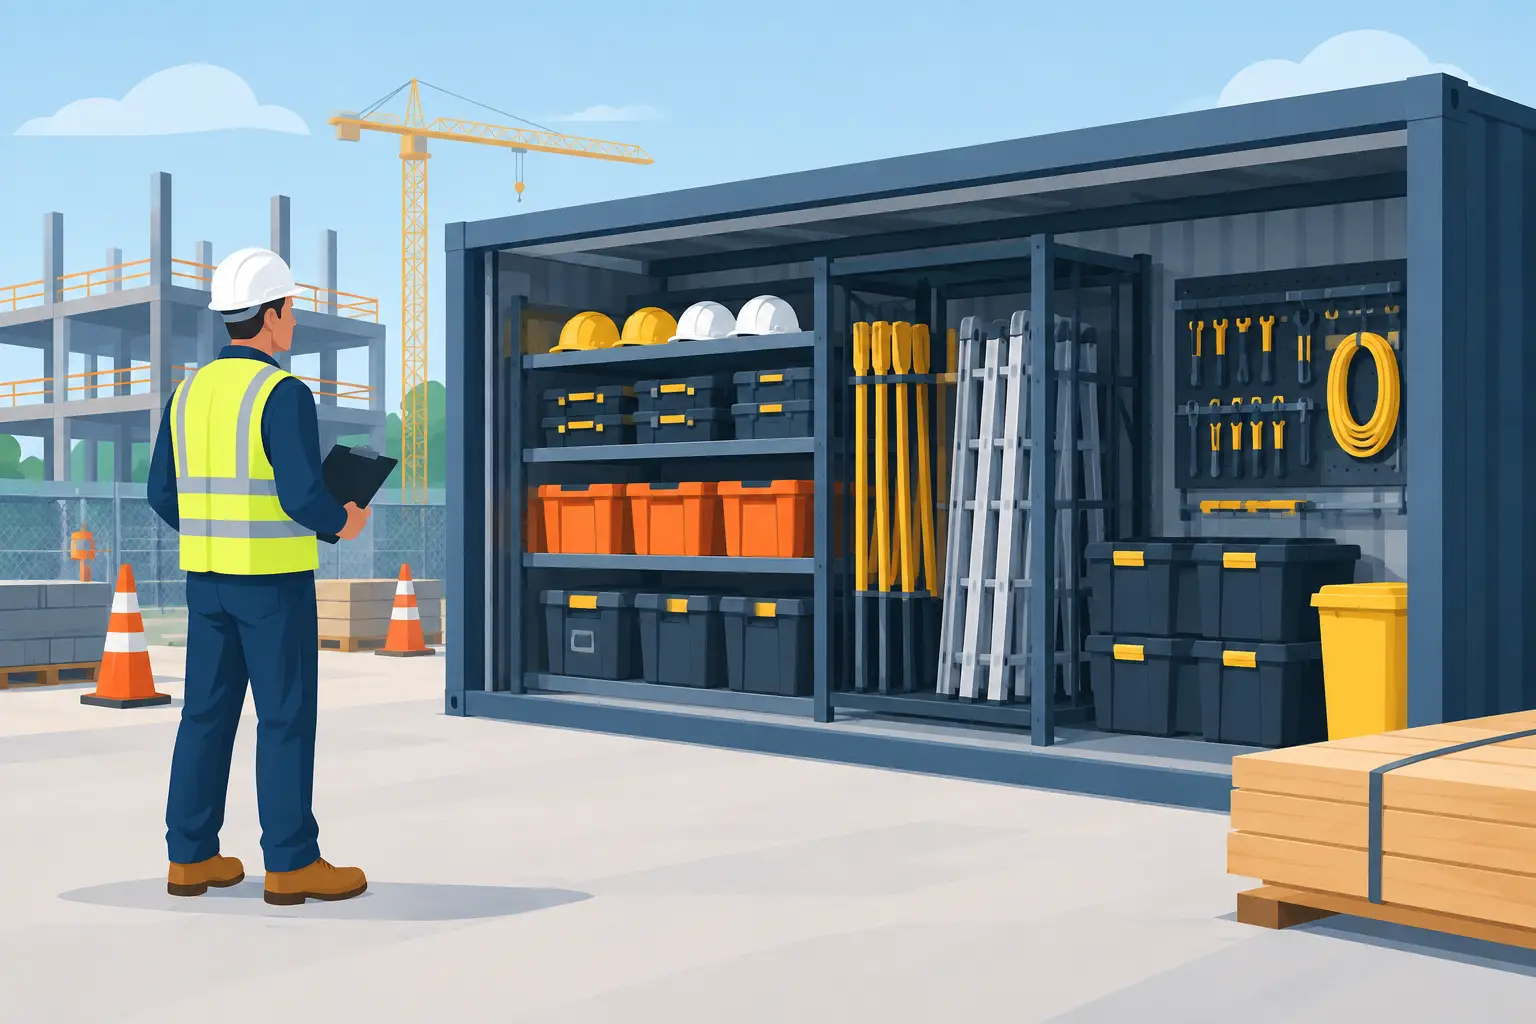
The simplest jobsite storage plans use zones. Think of the container as a compact stockroom with a clear purpose for each area, rather than a place where supplies are placed wherever there is space.
Keep high-use items near the doors. This may include daily tools, fasteners, batteries, extension cords, personal protective equipment, and cleaning supplies. Workers should be able to pick up these items without climbing over boxes or shifting heavier materials.
Place medium-use materials farther inside, with lower-use items at the back. This approach reduces repeated handling and keeps the main aisle clear. If a large item is only needed once or twice during a phase of work, it does not need the most accessible position.
Separate materials by trade or task whenever possible. Electrical supplies, plumbing fittings, painting materials, hardware, and finishing products are easier to control when they each have a designated area. This also makes it easier to see what needs replenishing before it becomes a delay.
For a straightforward setup, divide the unit into four working areas:
- A front-access zone for daily tools and safety gear.
- A shelving zone for smaller parts, labelled bins, and consumables.
- A bulk-material zone for boxed products or larger equipment.
- A secure back zone for high-value tools, sensitive documents, or items needed later in the project.
The right number of zones depends on the size of the crew and the length of the project. A short renovation may need only two or three zones. A larger commercial site may benefit from separate containers for tools, materials, and administrative supplies.
Keep One Clear Aisle From Door to Back Wall
An aisle is not wasted space. It is what makes the rest of the storage usable and safer. Leave a clear path from the container doors to the back wall, wide enough for workers to carry materials without twisting around stored items.
Do not stack boxes, pails, cords, or offcuts in this path, even temporarily. Temporary piles tend to become permanent during busy periods. If an item does not have a home, create one before it becomes an obstruction.
Store heavier products low and close to the floor. Lighter items can go on upper shelves, provided they are stable and within safe reaching height. Avoid building tall, loose stacks that can shift when a box is pulled from the bottom or when the unit is opened after a temperature change.
Use shelving where it provides a real advantage. Shelves are useful for small inventory and hand tools, but they are not always the best use of space for long materials or heavy boxed products. In those cases, stable floor stacking with clear labels may be more practical. The goal is safe access, not a showroom appearance.
Label for the Person Who Did Not Set It Up
A storage system only works if every crew member can follow it. Labels should be large, consistent, and easy to read in lower light. Write what is inside a bin or shelf location, not just a vague category such as “miscellaneous.”
Use specific labels such as “3-inch screws,” “paint rollers,” “electrical boxes,” or “tile spacers.” When several similar products are on site, add details that prevent mistakes, such as size, finish, room, or phase of work.
Colour coding can help, particularly on larger sites. One colour may identify safety supplies, another may identify electrical materials, and another may identify tools assigned to a particular crew. Keep the system simple enough that it can be understood without a separate chart.
It also helps to post a basic storage map inside the door. This can be as simple as a labelled sketch showing where each zone is located. It saves time for new workers, subcontractors, and anyone covering a task at short notice.
Control What Comes In and What Leaves the Unit
Jobsite storage becomes difficult when materials arrive without a plan. Assign one person, or one role, to check deliveries and place items in the correct zone. This does not need to be a time-consuming inventory process. A quick count, a photo of the delivery slip, and a clear location for the materials can prevent confusion later.
Set a routine for tools as well. Workers should return shared tools to the same area at the end of each shift, with batteries charging only where it is safe and permitted. If tools are assigned to specific crews, mark them clearly and keep their cases together.
A short end-of-day reset is often more effective than a major cleanup once a week. Give the crew five or ten minutes to clear the aisle, return tools, gather loose materials, and flag low stock. This small habit protects the storage system during the busiest stages of a project.
Plan for Weather, Security, and Changing Project Phases
A good storage layout needs to hold up through changing conditions. Keep moisture-sensitive materials off the floor where possible, especially during wet weather. Store adhesives, coatings, and other temperature-sensitive products according to manufacturer directions. Not every product belongs in an unheated container year-round, so check requirements before storing it on site.
Security should be built into the daily routine. Keep doors closed and locked when the unit is unattended, and avoid leaving valuable tools near the entrance where they are easy to see. High-value items may need a separate locked cabinet or secured area inside the container, depending on the project and access requirements.
Reassess the layout as work progresses. Materials that were essential early in the project may become less useful later, while finishing supplies may need prime access. Adjusting zones at key stages prevents the container from becoming a record of every item that has ever arrived on site.
Portable storage gives contractors the flexibility to keep equipment and materials close to the work without committing to a permanent structure. GoBox Portable Storage can deliver secure on-site storage where it is needed, helping crews create a more orderly base for the job ahead.
The most useful storage system is one your crew can maintain on a busy Thursday afternoon, not just one that looks organized on the first day. Give every item a place, protect the aisle, and make the reset part of the work routine. The site will run better because of it.