A practical C Can storage guide starts with one question: what needs to stay protected, accessible, and out of the way while work continues? For a renovation, seasonal inventory build-up, or an active job site, on-site container storage can keep materials close without taking over your garage, storefront, or work area.
A C-can, also called a shipping container or steel storage container, is a durable option for customers who need storage where the work is happening. The right setup is not only about choosing a container. It depends on site access, packing methods, security needs, rental timing, and the type of items you plan to store.
What a C-Can Is Best Used For
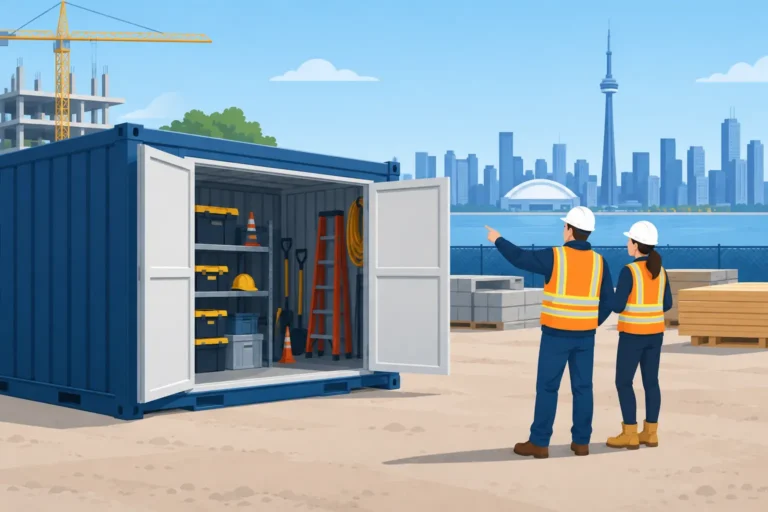
C-can storage works best when you need a dedicated, weather-resistant space at your property for more than a few days. Homeowners often use it during renovations, when furniture, tools, and boxed belongings need a protected place outside the main work zone. Contractors may use a container to keep tools, supplies, and equipment available at the job site. Retailers and business operators can use one for overflow stock, seasonal displays, records, or supplies that do not fit comfortably indoors.
The main advantage is proximity. Instead of loading items for repeated trips to an off-site facility, you can access your storage container at the location where those items are needed. That can save considerable time when a project timeline changes or stock needs to be checked quickly.
A container is not the best answer for every situation. If you need climate-controlled storage for sensitive documents, artwork, electronics, or delicate antiques, ask about suitable alternatives or additional protection. Steel containers protect against weather and unauthorized access, but they do not provide the controlled temperature and humidity of a conditioned indoor space.
Start With the Site, Not the Stuff
Before arranging delivery, look at where the container can sit. A level, firm surface is the priority. Gravel, pavement, compacted stone, or a stable packed area can work well. Soft ground, steep grades, low branches, overhead wires, narrow gates, and tight turns can all affect delivery options.
Measure the intended space and the route a delivery truck will need to use. Consider the full path from the road or driveway to the placement area, not only the final footprint. There needs to be enough clearance for the truck and for safe container placement. If the doors will open toward a wall, fence, or slope, day-to-day access may become frustrating very quickly.
For properties in Kingston and across Eastern Ontario, seasonal ground conditions matter as well. Spring thaw can make an otherwise solid area soft, while winter snowbanks can restrict access. Plan ahead where possible, and speak with your storage provider if site conditions change before delivery.
Check local property rules, condominium requirements, and any applicable municipal restrictions before confirming placement. Requirements can differ by neighbourhood and property type. It is easier to confirm this early than to change plans once the container is on site.
Choose a Rental Term That Matches the Real Timeline
Storage needs often last longer than the first estimate. Renovation schedules can extend, supplier delivery dates can shift, and seasonal business demand may stay elevated longer than expected. A short-term rental can be a good fit for a defined project, but flexible longer-term storage may offer more breathing room if the end date is uncertain.
Be realistic about when you will need frequent access. A container used daily for job-site tools should be packed differently from one holding household items for several months. The first needs a clear aisle and a simple system for returning tools. The second can be packed more densely, with priority items near the doors.
It also helps to think beyond the immediate project. If you know an upcoming phase will require additional supplies or clearing more interior space, choose a setup that can accommodate that change. A little extra room is useful when it prevents boxes and materials from being stacked in unsafe or inconvenient places.
Pack a C-Can for Access and Protection
A storage container is secure only when items inside are packed sensibly. Start by placing heavier, sturdier items on the floor and toward the front wall. Keep weight distributed across the container rather than concentrating it on one side. Stack boxes squarely and avoid building unstable towers that can shift when the doors are opened.
Create a centre aisle if you will need regular access. Put the items you use most near the doors, and label boxes on more than one side so you can identify them without unpacking half the container. For business storage, a basic inventory sheet can save time and help staff locate stock consistently.
Moisture management deserves attention, especially through Ontario’s changing seasons. Use clean, dry boxes rather than damaged cardboard. Keep items off the floor with pallets, shelving, or another suitable barrier where appropriate. Leave a little space between stored goods and the container walls to support airflow. Avoid storing wet equipment, damp lumber, or freshly washed items until they are dry.
For a well-organized container, focus on these four habits:
- Label every box with its contents and the room, department, or project it belongs to.
- Keep valuable tools and frequently used supplies close to the entrance.
- Use shelving or pallets for smaller items that would otherwise become difficult to find.
- Leave enough open floor space to enter safely and inspect stored items.
Do not store hazardous, flammable, illegal, perishable, or otherwise restricted materials. If you are unsure whether a particular item is suitable for container storage, confirm it with the provider before loading it.
Security Is a Daily Practice
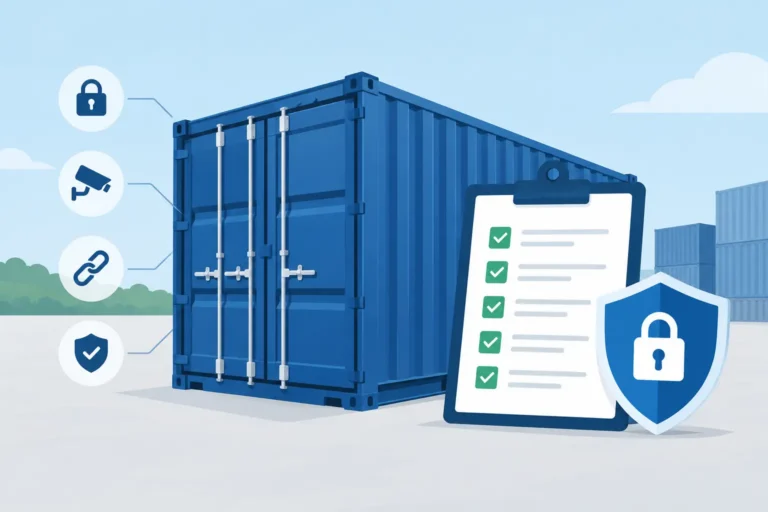
A steel container provides a strong physical barrier, but good security also comes from how it is used. Keep the doors closed and locked whenever no one is actively loading or retrieving items. Choose a quality lock designed for outdoor use, and limit key or code access to the people who genuinely need it.
For commercial and industrial customers, establish a simple check-in process for high-value tools or equipment. It does not need to be complicated. A sign-out sheet, inventory list, or designated supervisor can help identify missing items early and reduce confusion between crews.
Place the container in a visible area when practical, ideally where normal property activity provides some oversight. Avoid blocking entrances, fire access, or work zones. Exterior lighting and security cameras may also be worthwhile for sites storing valuable inventory or equipment.
Keep the Container Useful Throughout the Rental
The first day of packing sets the tone, but storage needs change. Set aside a few minutes each week to keep the aisle clear, return items to their assigned areas, and check for signs of moisture or damaged packaging. This is particularly helpful on longer rentals, when a container can gradually become a catch-all space.
Businesses can benefit from separating stock by category, season, or delivery date. Contractors may prefer zones for tools, consumables, safety equipment, and larger materials. At home, keeping renovation supplies distinct from household belongings makes it easier to find what you need without disturbing carefully packed boxes.
When you are ready to clear the container, work from the back toward the doors and inspect the floor as you go. Make sure all belongings, packaging, and loose materials are accounted for. A clean, organized container is safer during the rental and simpler to hand back when the project is complete.
GoBox Portable Storage brings secure container storage directly to properties across Eastern Ontario, with rental options that can suit household, commercial, and job-site needs. The most useful storage plan is the one that fits your space, your timeline, and the way you actually work – so start with a clear site plan and pack for the access you will need tomorrow.